01
Oct
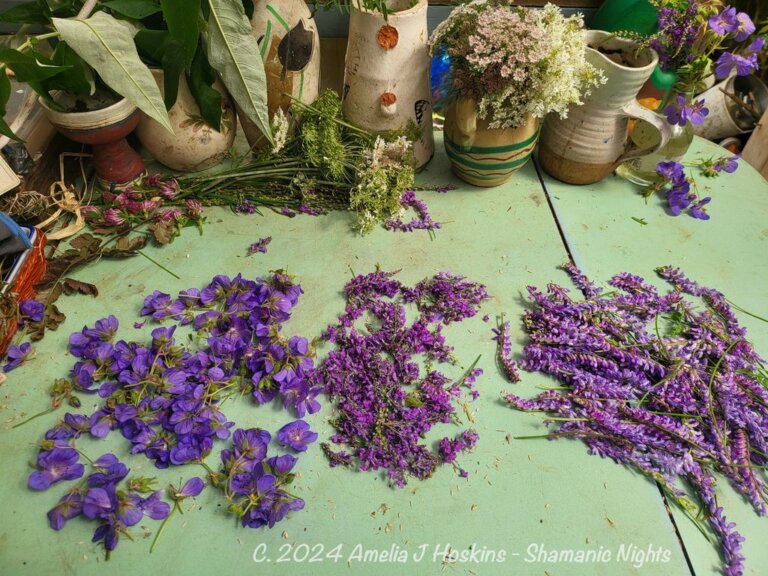
Black Knight Scabious
Black Knight Scabious is a strong dye flower giving a range of violet - blue - green - olive - grey and deep blue colours.
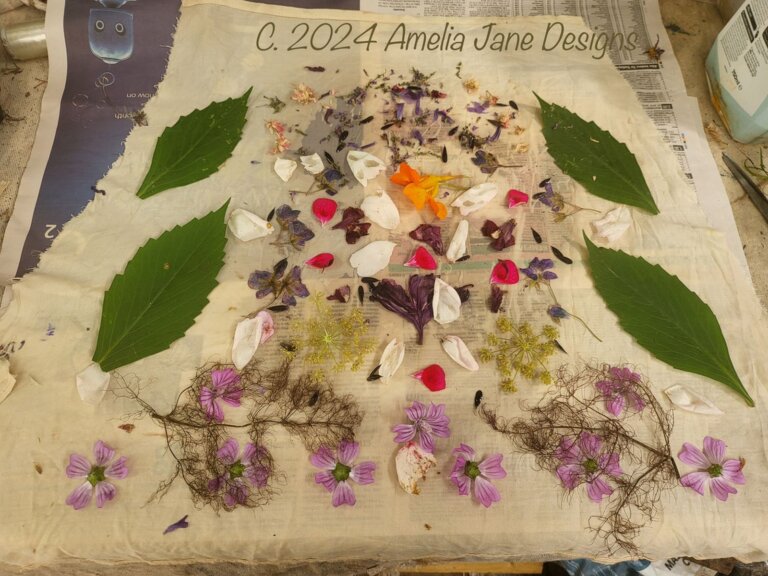
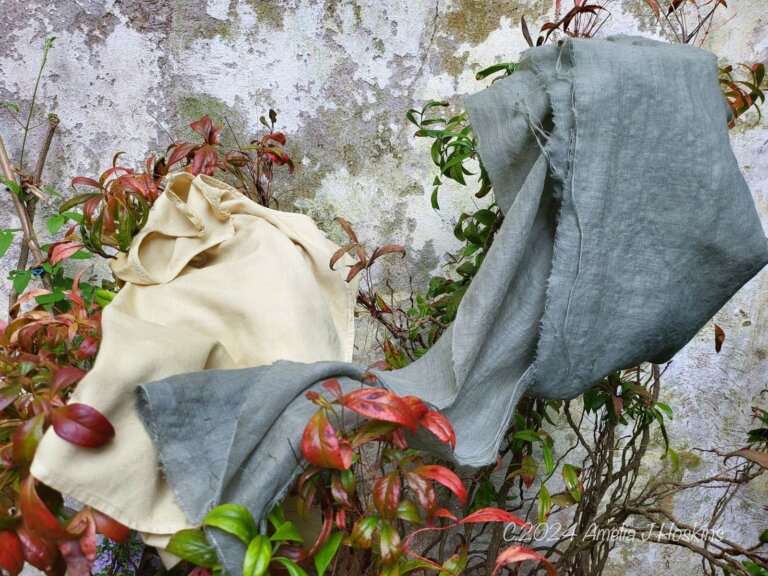
First test results were easy to obtain with steam bundle dyeing process. Two silk pieces: one previously dyed with iron modified blackberry (lavender) and one previously tan dyed from leaves with small orange eucalyptus prints.


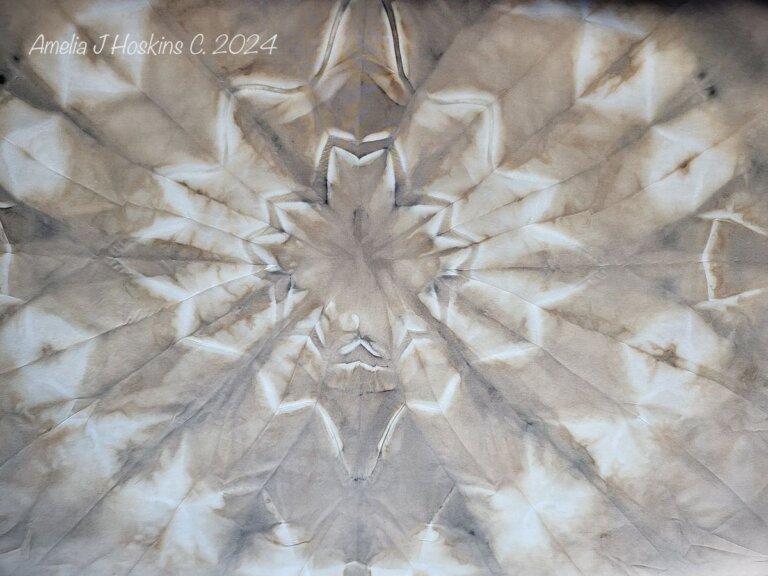
FIRST steam print with Black Knight Scabious flowers
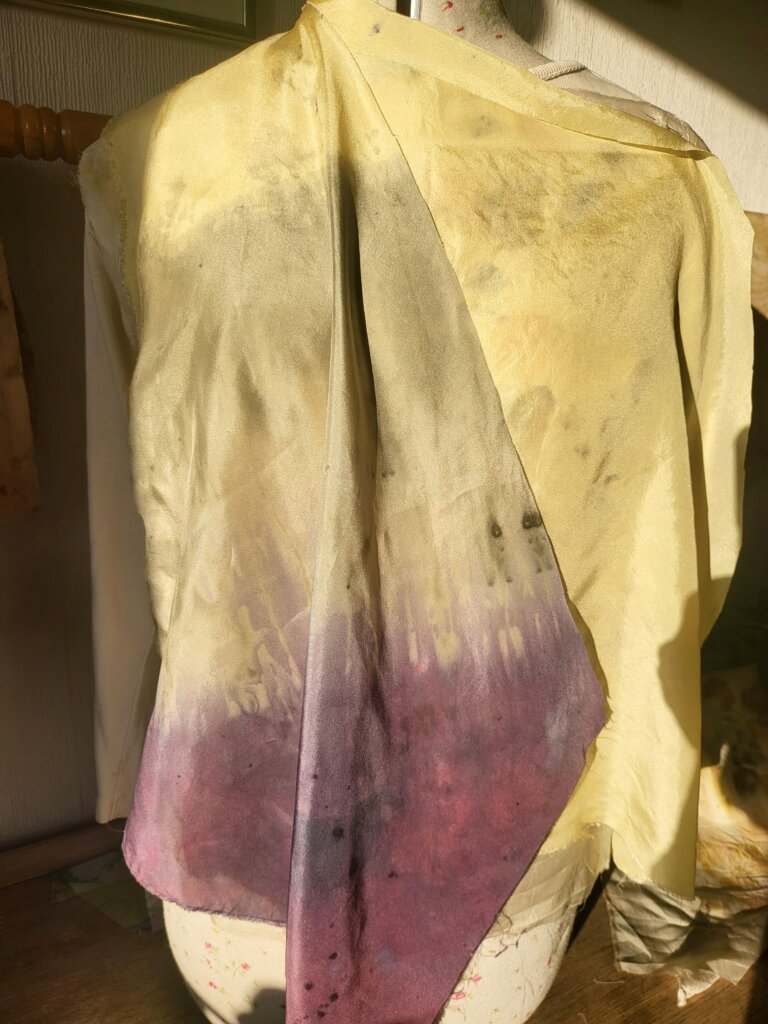
Result of Scabious steaming is seen as strong deep violet bleeding of dye colour at one edge, which must have been an open part around an end of the stick. Other flowers seem dry with barely a full print. Silk is very dry, so got too hot in pan, inside a tight parcel. Edge would have remained damp, hence the colour collected there. Pattern print not at all covering whole area, so decision made to re-dye with similar distribution of flowers, together with another silk (previously dyed with blackberry modified with weak iron dip).


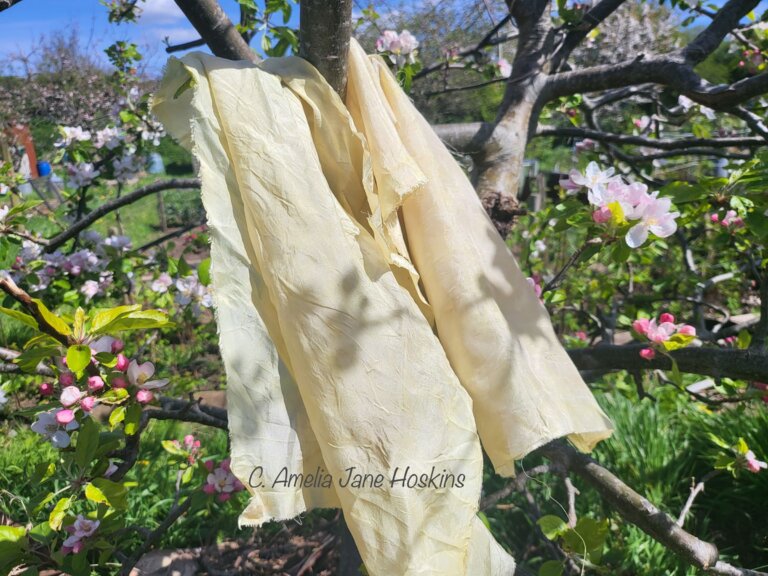
Stick wrap-around method chosen for 2nd attempt with two silks. First parcel became too dry inside. Additional silk is Habotai previously dyed with blackberry (but had iron dip modifier), so grey-lavender background.
20 minute steam in pan

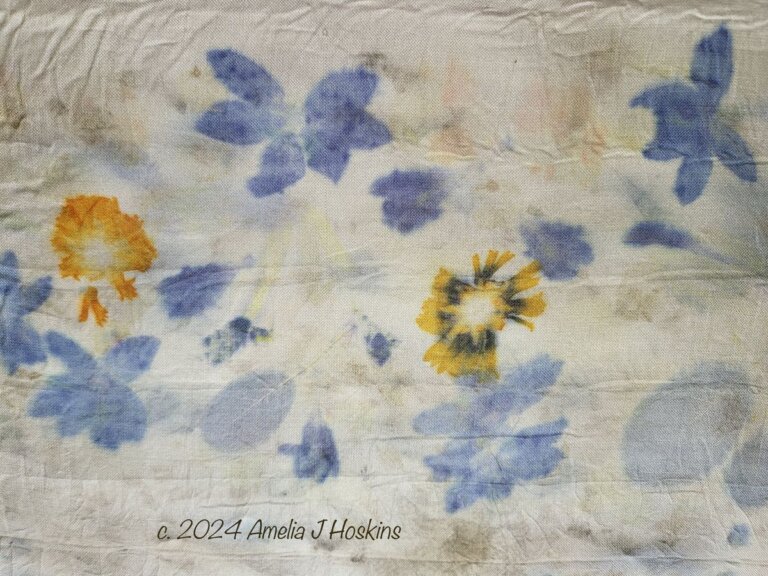
RESULT! A good evenly dyed print design
A good dye take up from the Scabious flowers, which had. been positioned over flat silk, similarly as first attempt; and with added sprinkling of individual Scabious tiny petals. These can be used with other steam dyes as a 'spot sprinkling' background with other eco prints.


Scabious Black Knight dried flowers on ecru Shetland wool
Top sample Dye pot (2b). GREEN: Modifed with Bicarbonate of Soda.
Second sample Dye pot (2a). Airforce BLUE: Twice as many dried flowers boiled up several times in a non stick coated pan, and rested a day or two. Wool added after reheating; left to soak around 3 days.
Third sample Dye pot (1a): GREY: First dye pot but flowers had been used in a bundle steam first. Not many flowers used, not boiled, flowers placed in boiled water soaked for 7 days.
Fourth sample Dye pot (1b): Had same process but boiled up again after in a dye pan. (Possibly had tannin residue from a bundle dye)