Two Logwood dye sessions with very different results
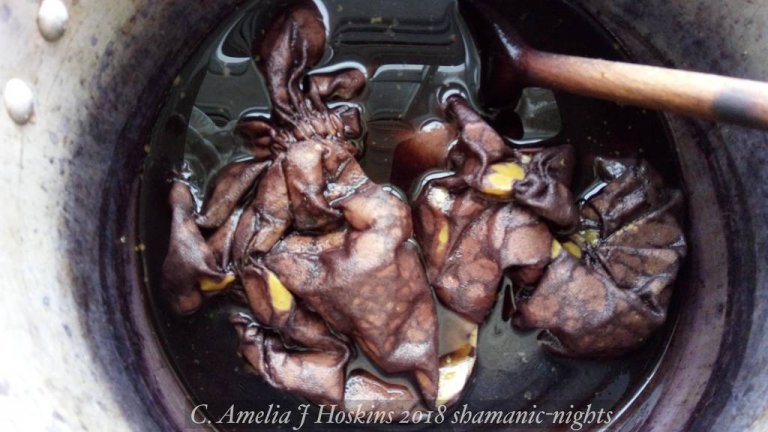
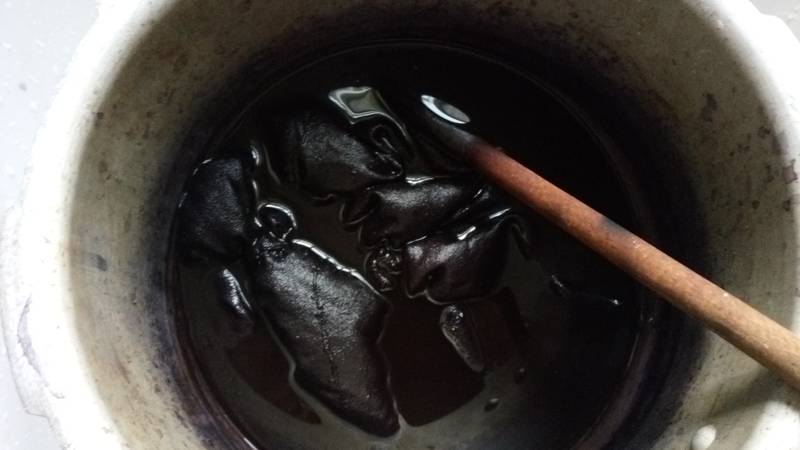
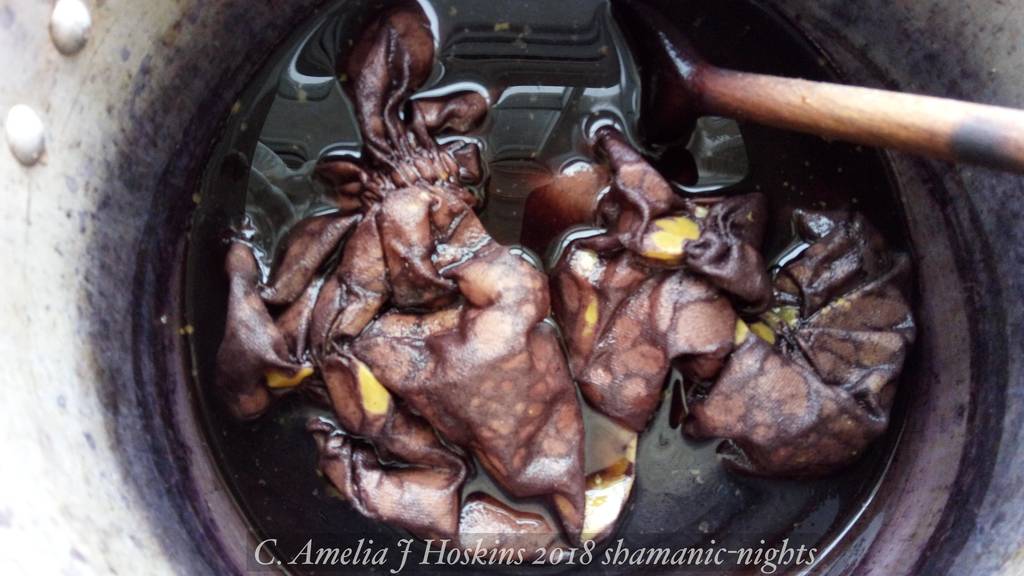
1st Session Logwood Dye Bath - Deep aubergine result on Ahimsa Silk - Shibori technique test


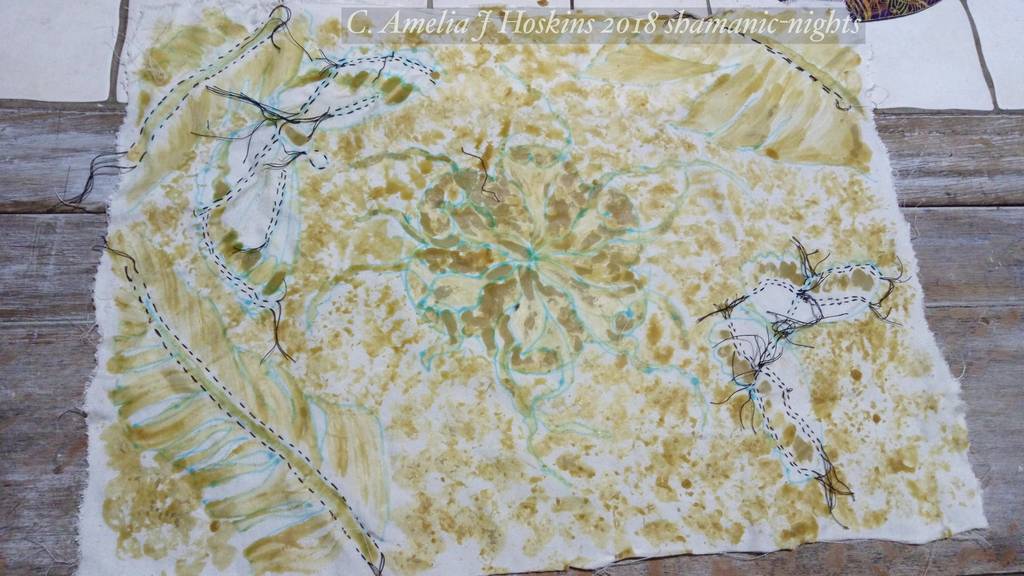
SHIBORI STITCH RESIST
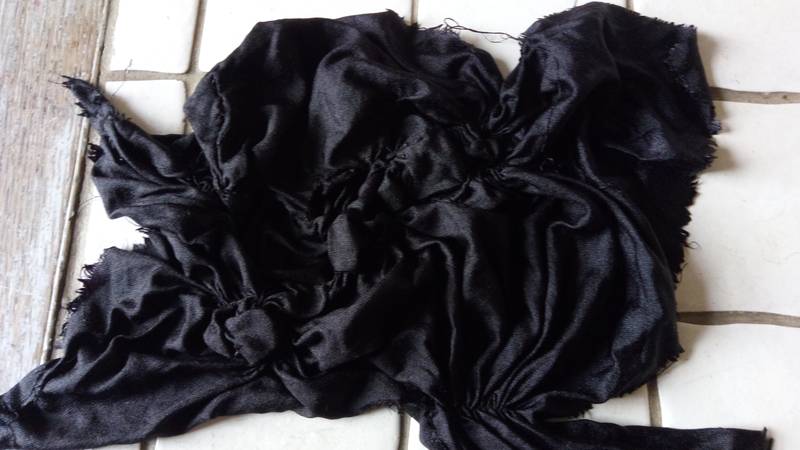
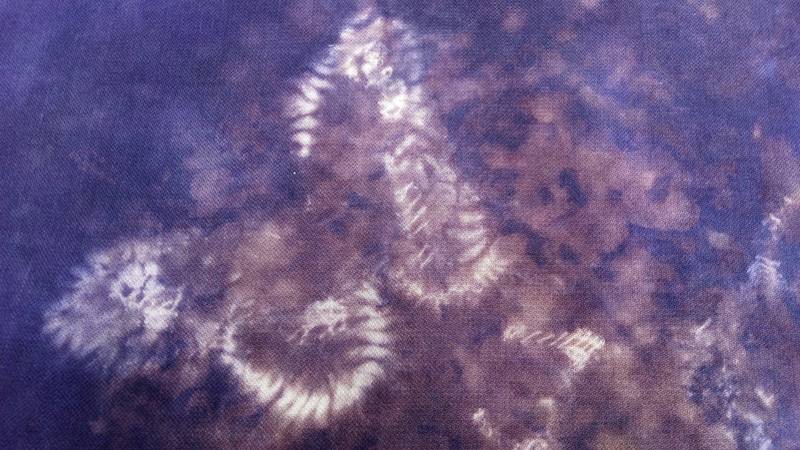
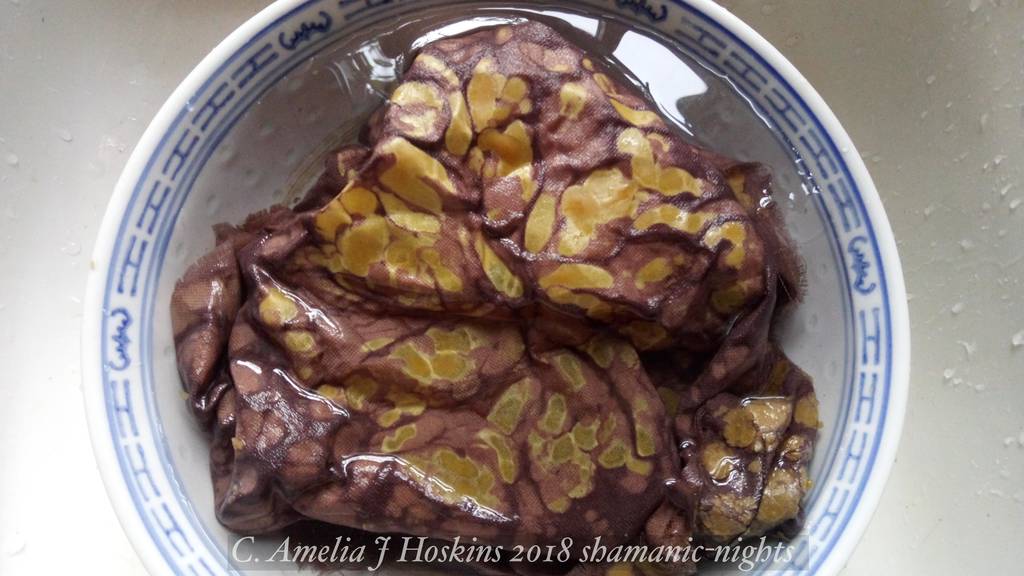
Double rows of loose stitched threads are pulled tight as much as possible, before dyeing; creating a tightly drawn ruched area which creates a resist against dye penetration.
DEEP VIOLET DYED SILK achieved. I expected lilac, so I used too much dried logwood. Silk could have been removed from dye bath after 20 minutes of initial uptake.
Experiment with dried dyestuff quantities as percentages of weight: ratios fabric:dye stuff.
SHIBORI STITCH TECHNIQUE RESULT
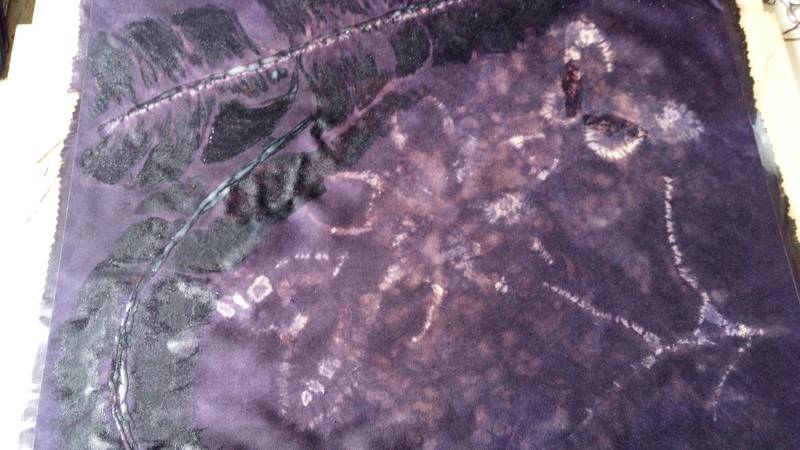
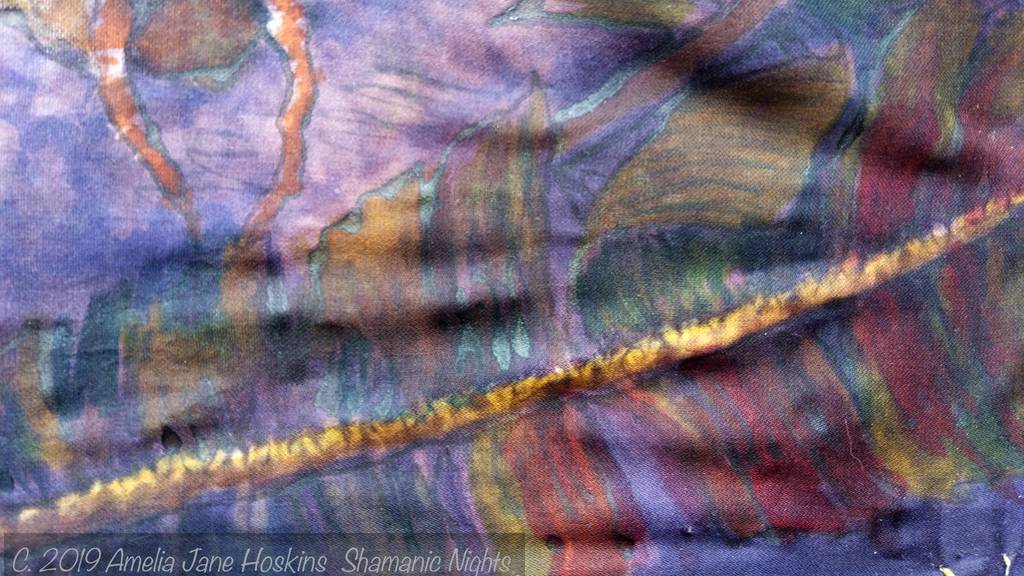
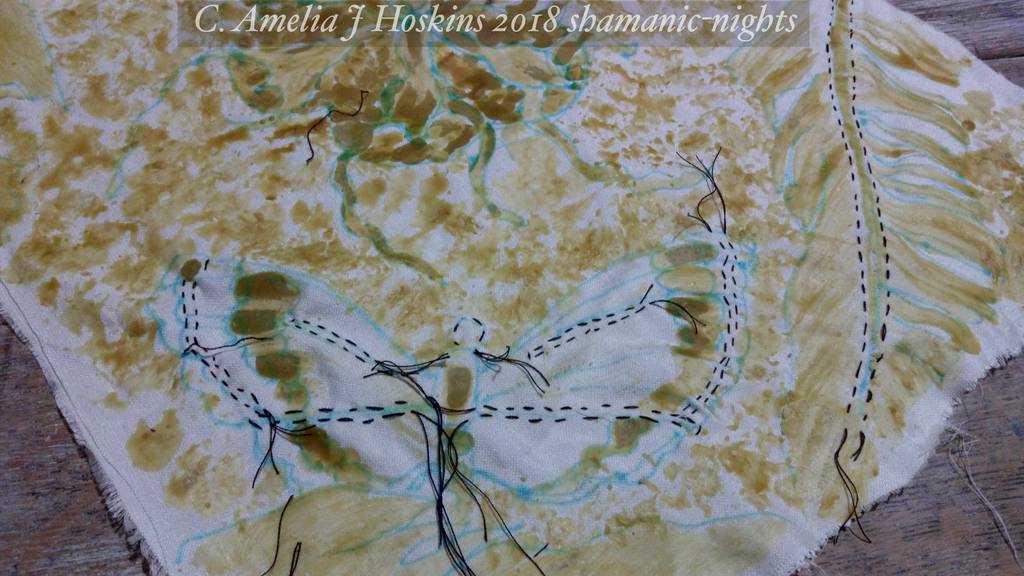
Strength of dye penetration resulted in some of the white lines being dyed, so I applied dye discharge paste (dye remover) to shapes, which gave an interesting partial fade result. See leaves below.
Note: Shibori stitch technique works well if fabric excluded enough from dye bath - so use thick embroidery silks or string type thread. Simple cotton thread gathered tight was not thick enough.


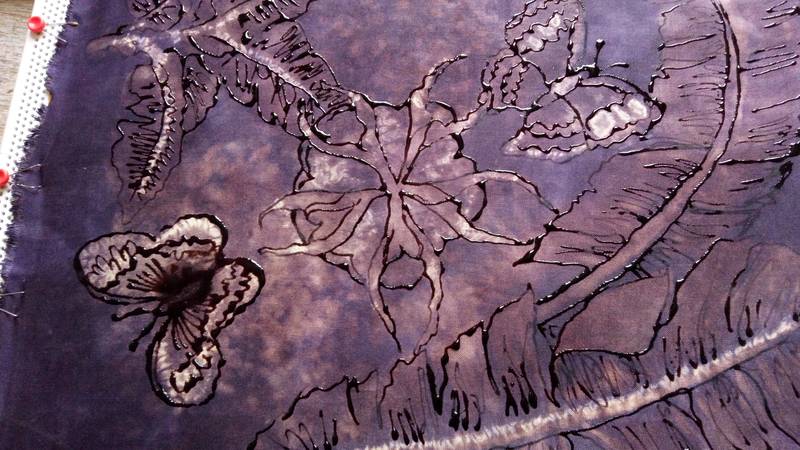
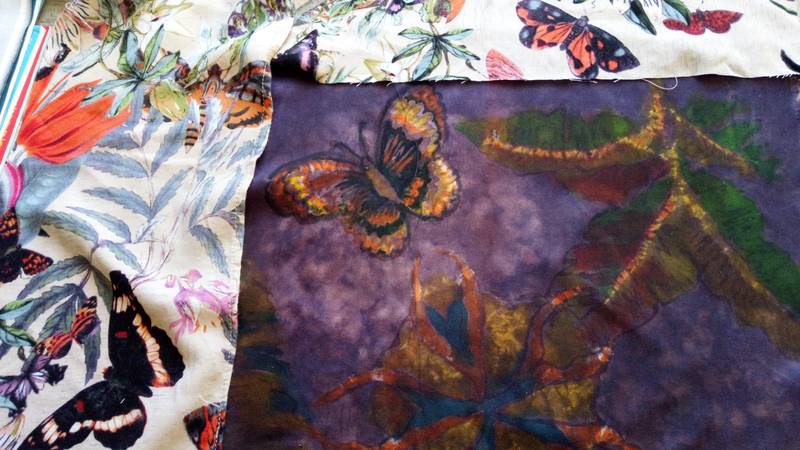
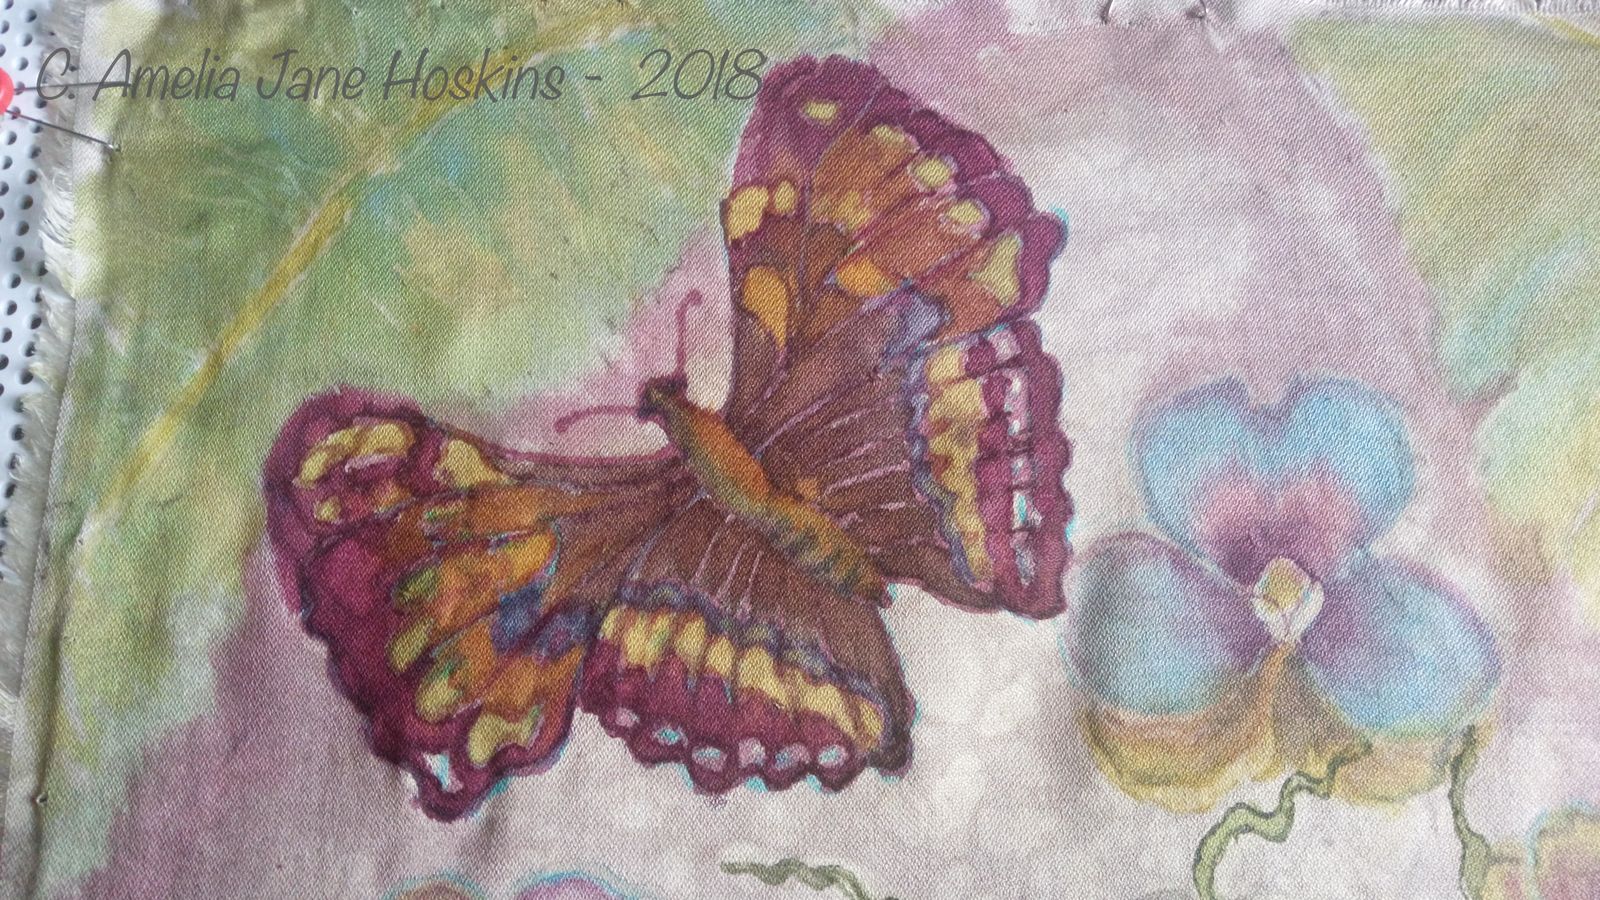
The simple butterfly and leaves are not a sophisticated design; only used as a test work over dark dyed background.
Shibori resist white outlines of leaf vein and butterfly edging needed definition. Fabric discharge paste was brushed on to leaf area, where the batik had not been successful.
Bleaching out background dyed silk is an idea for muted toned designs. It could be useful for a background to forest or sea; but would need stronger white areas made with tie dye and shibori, for contrasting tones.
Discharge paste cannot be guaranteed to bleach completely; another colour may result, as seen above.
Gutta resist outlines were applied to contain more colour. I used dark outlines by adding dye to neutral beige gutta paste, but neutral gutta would be best if marking out along the shibori technique lines, to retain the white. Dark on dark is also too murky. Hold silk frame up to light to check for integrity of blocking, to avoid leakage of liquid dye colour when applying.
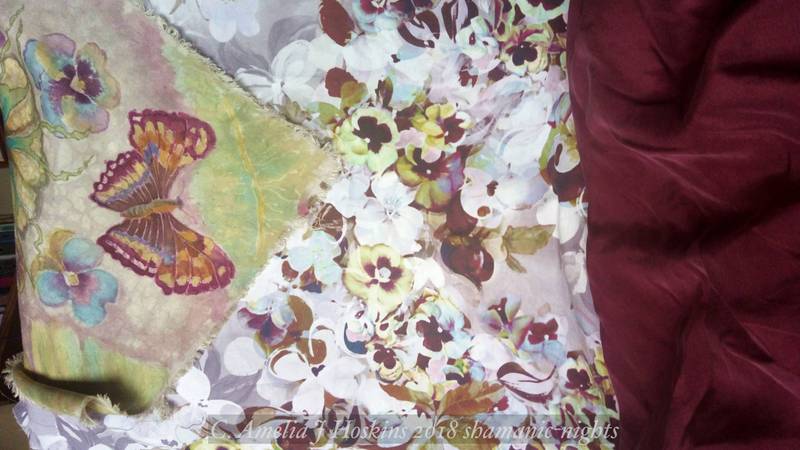
Colours were chosen to match planned coordinated fabrics as patchworks.
STEAMING OF PAINTING
Unfortunately, the steamer ran dry and fabric burned with burnt newspaper inside foil wrapping. Be careful to watch water level after so much work!
Nothing will be wasted. The small unburnt strips will be used as small patches within the colour scheme. Silk may also be cut into butterfly or leaf shapes to applique on paler fabric. By stitching over, the silk will be stronger in case of weakness from the dried overheating.
2nd Session Logwood Batik
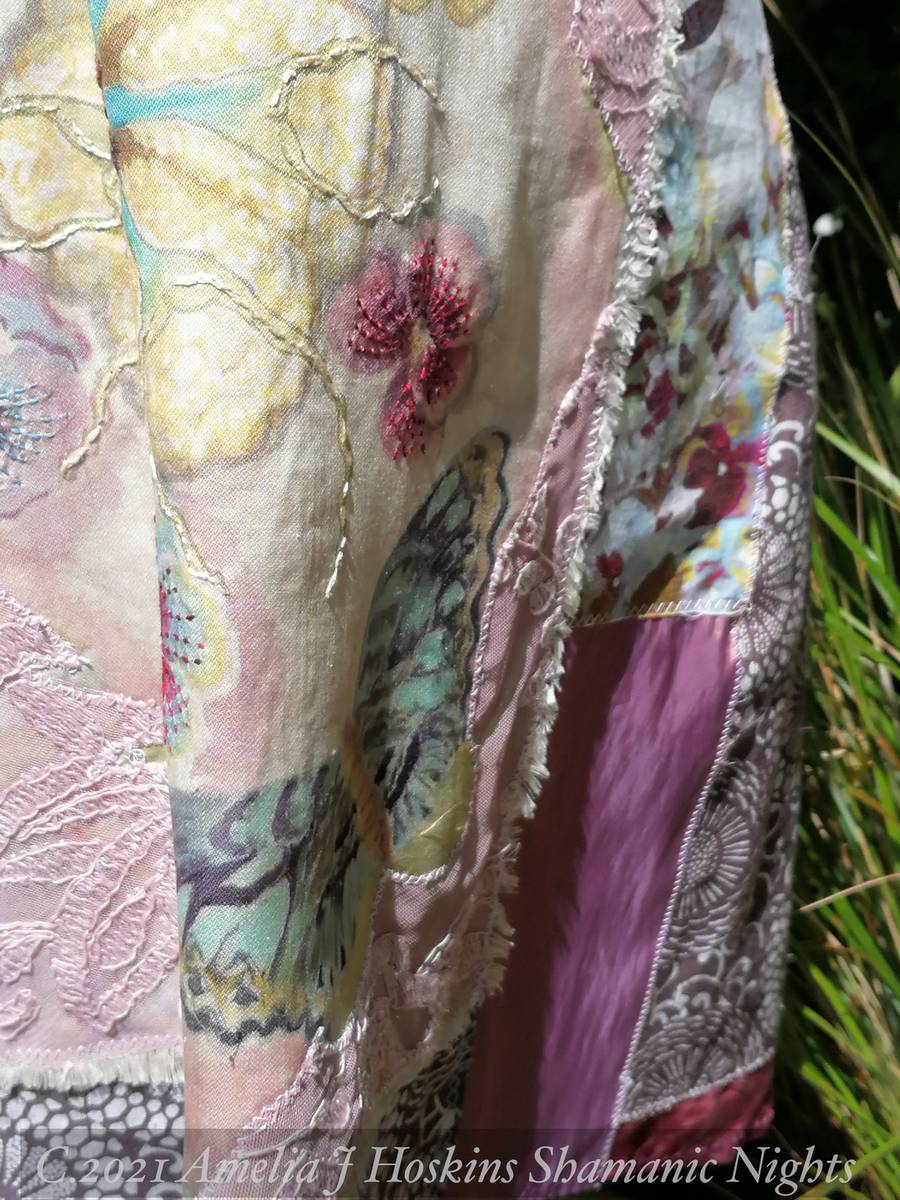
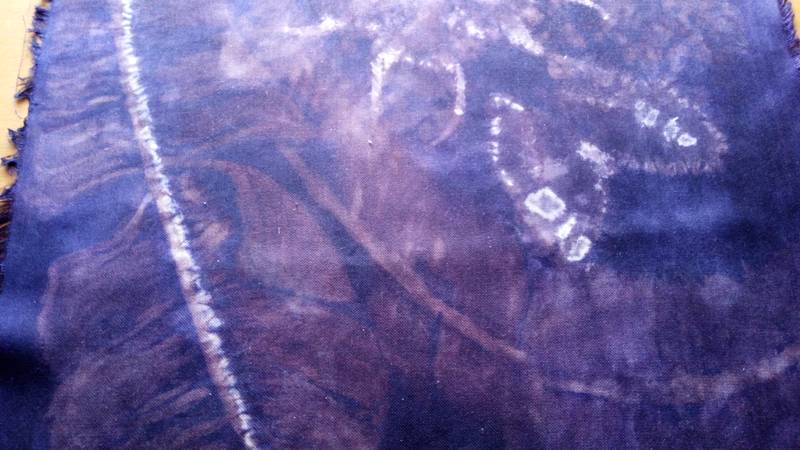
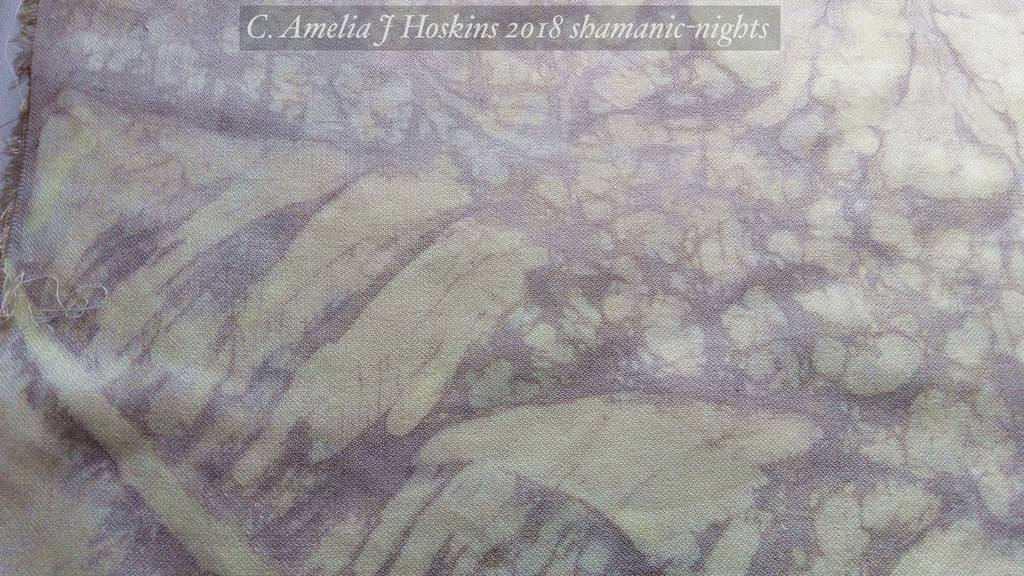
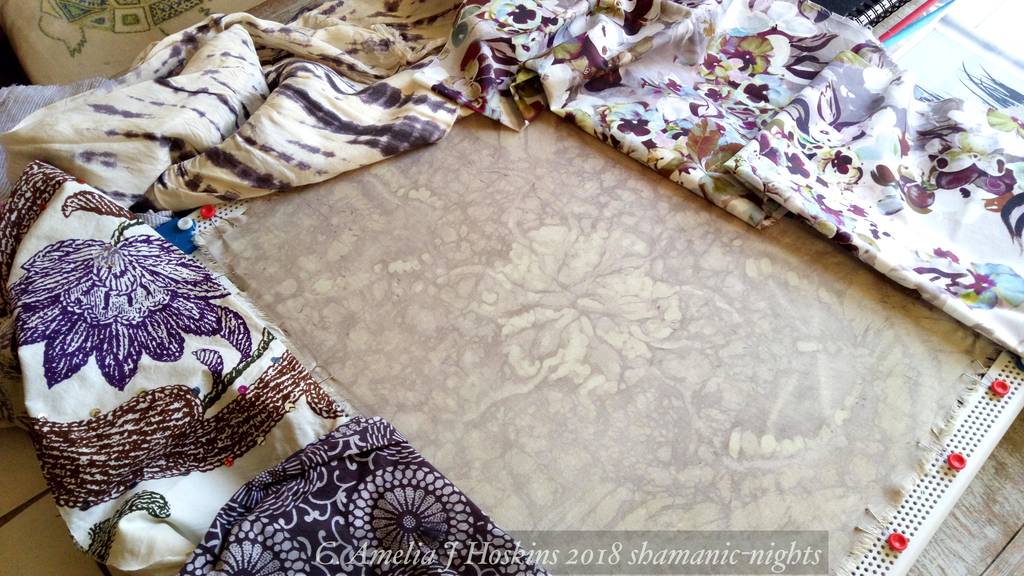
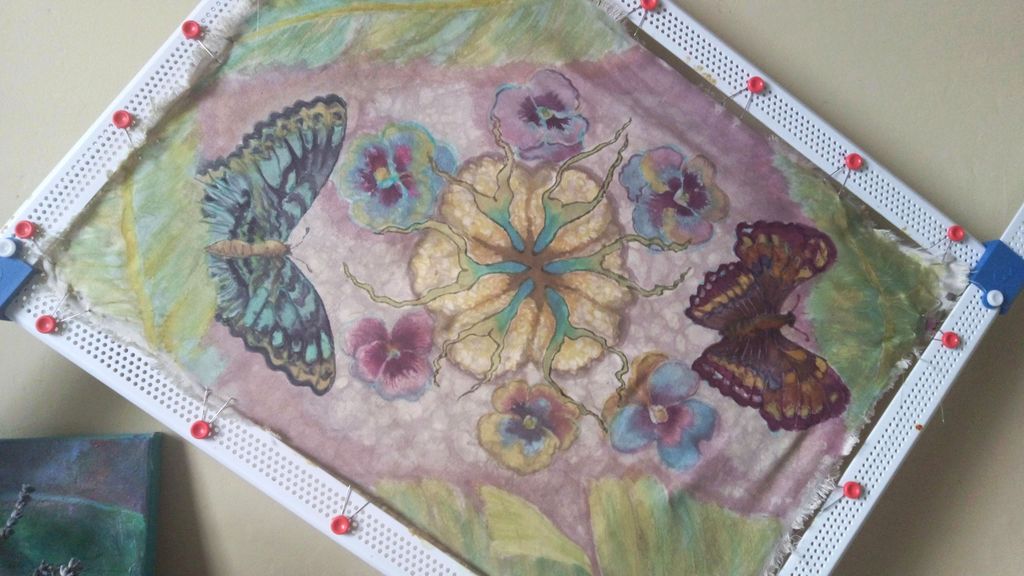
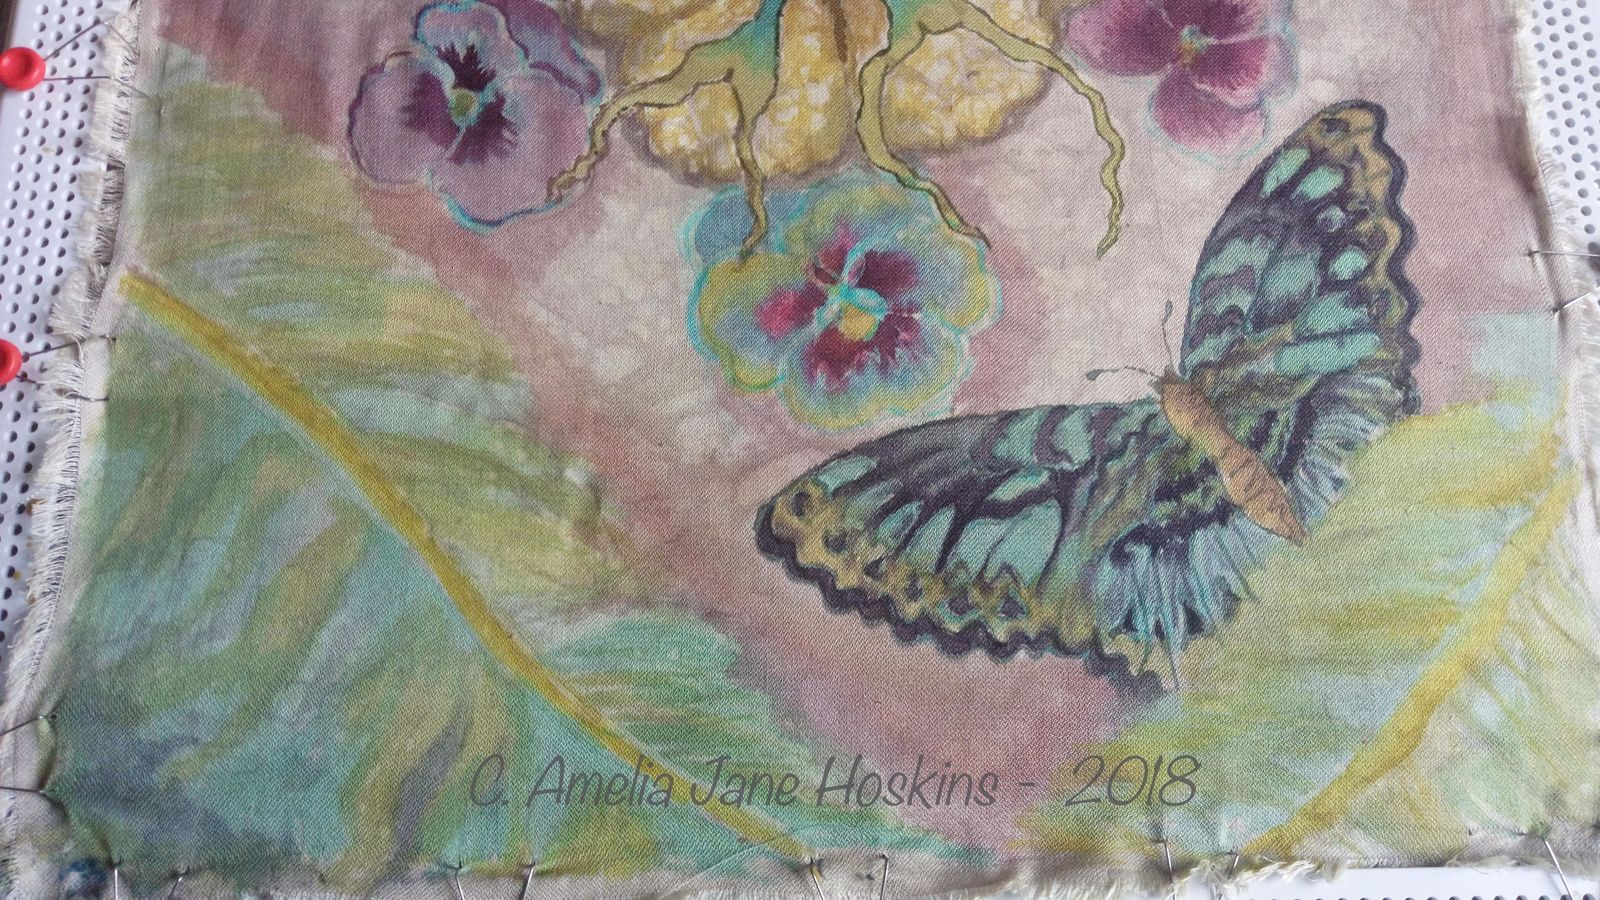
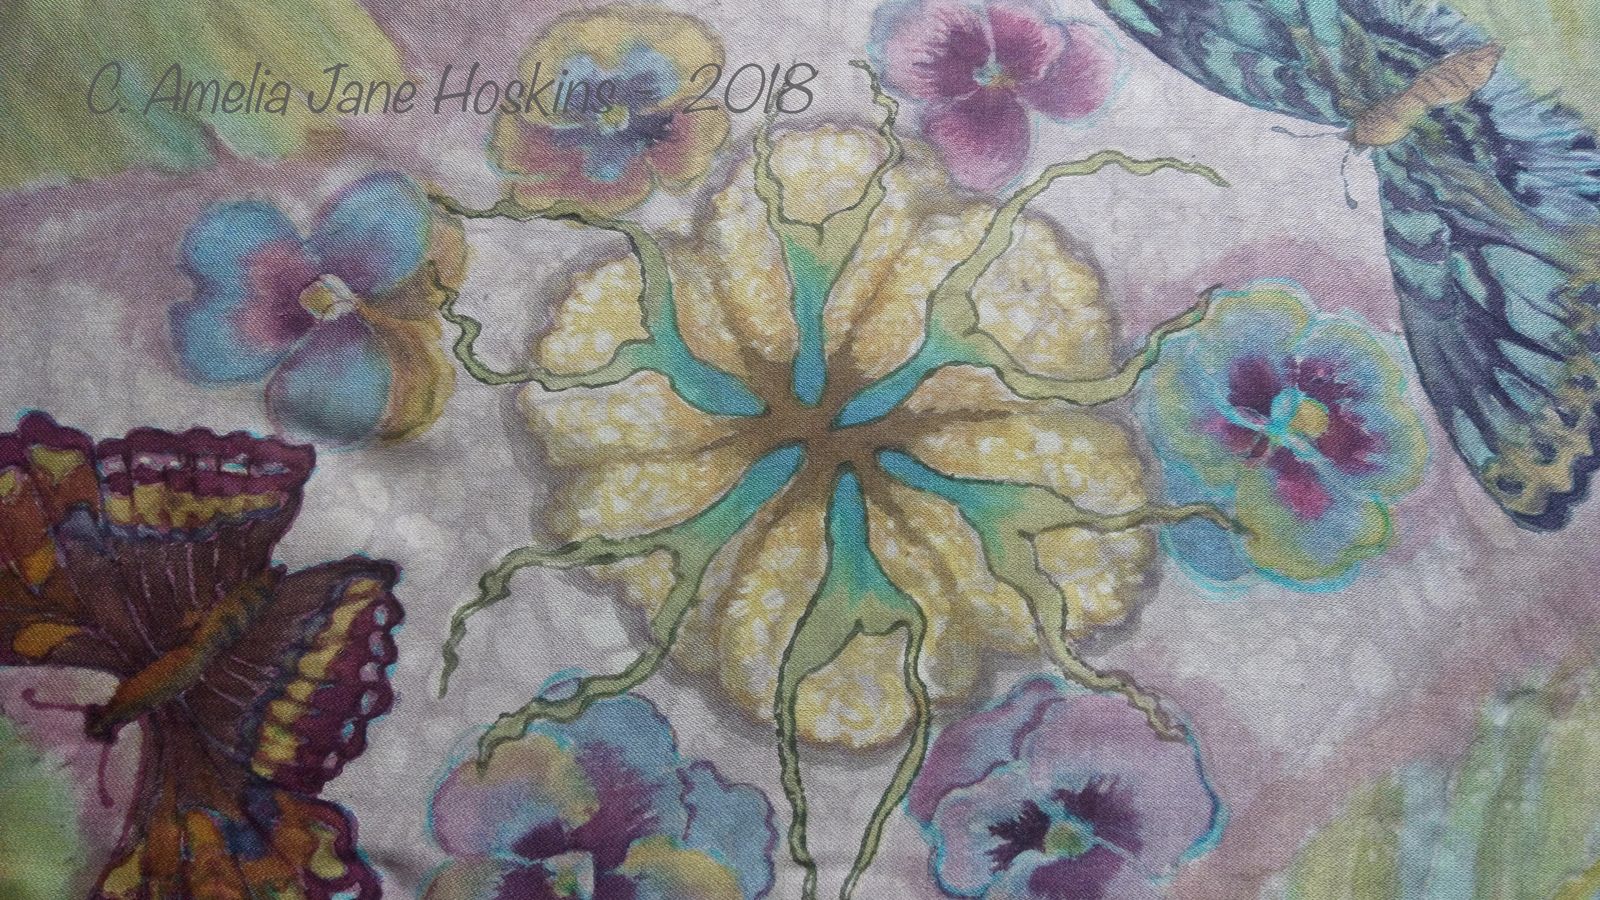
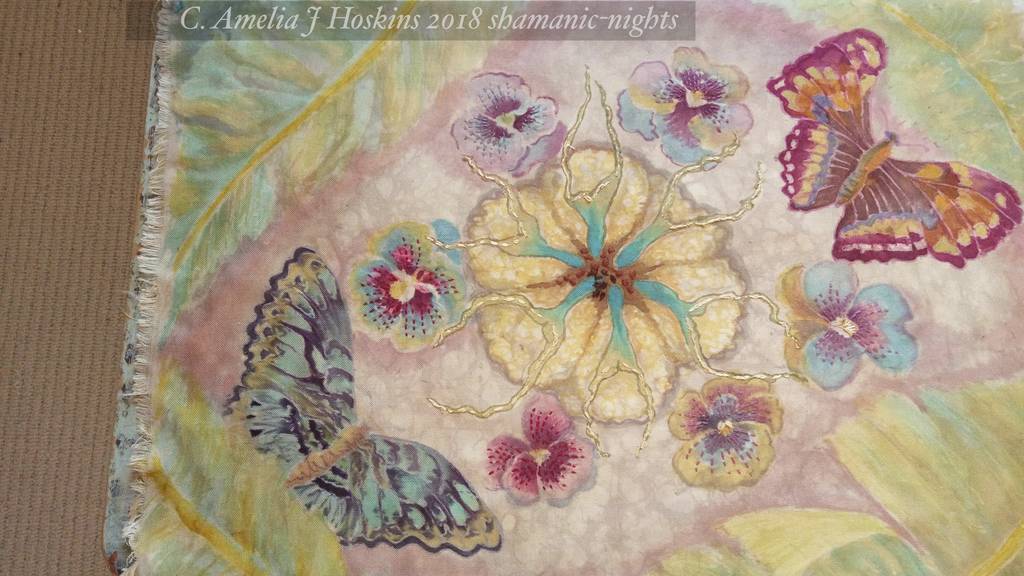
The second session produced a pleasing lilac background with motif of nigella seed pod, butterflies, banana leaves and textured background. The 'daubed' shapes are the result of using a long brush end.
Batik preparation experimentation
The dye mixture was weaker, the natural pigment much depleted, having been absorbed into first soaked fabric, so a subtle result of lilac-beige silk texture after wax removal and washing out.
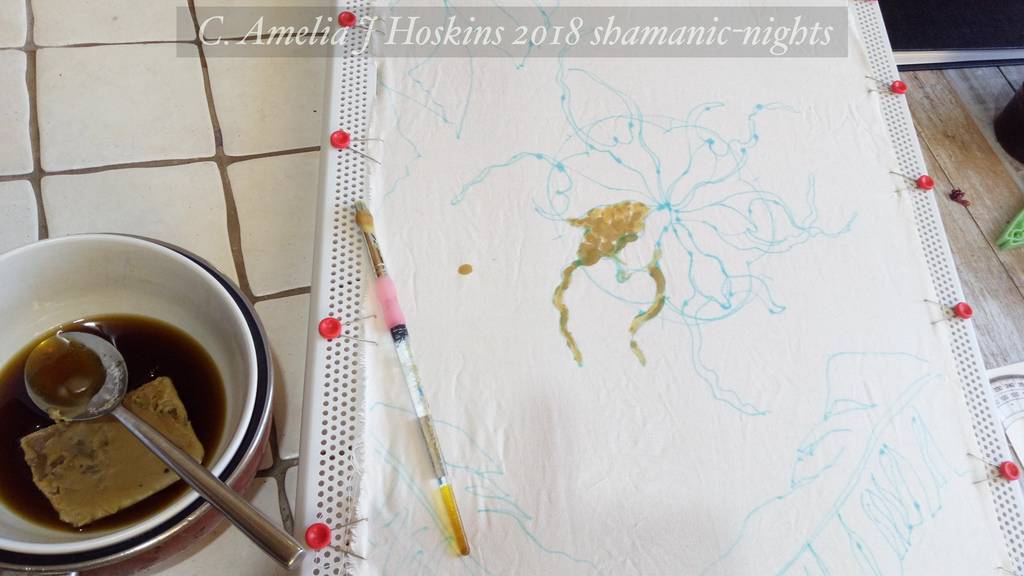
Applying bees wax design motifs and texture to silk, with brush end and brushes. (My first ever batik!)
- Use water solluable pen to draw design outlines.
- Keep heating up the wax so that it forms a good resist. The centre area which was applied hottest, came off easily when ironed. Feint brush marks do not give enough solid cover as a resist to the dye.
Removing Wax from silk
- Place thick type brown parcel paper over silk and wax; iron several times, with fresh paper each time and hot iron.
- When no more wax comes off, turn over and repeat, to be sure.
- Wash silk in hand hot soapy water. Any stubborn waxy stickyness can be scrubbed very lightly with a soft brush, to loosen.
- NOTE: wax batiking in this way for fashion, is not ideal on Ahimsa silk I used, which is like cotton and absorbed wax. Canvas would be a firmer base for general artwork where it wouldn't matter if some residue of wax remains in fabric.

See final afternoon tea dress post: Butterflies and Pansies